Two new features for the My Quota plugin, notifications and editor groups.
Notifications
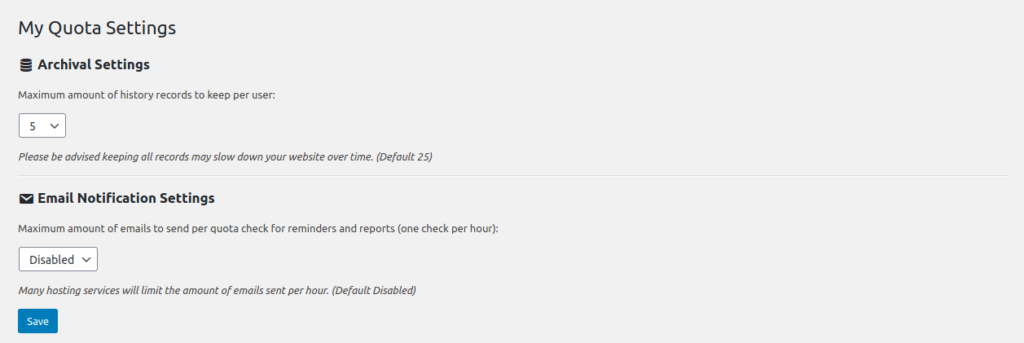
Now send reminders and reports to authors and editors. To enable the sending of notifications, make sure you have enabled the notification email settings under the My Quota Settings page.
Once enabled, you can checkoff under each Quota Group the options to send email notifications.
- Reminders – Send email reminders when quotas are due in 24 hours to users missing quotas.
- Reports – After the quota due date has passed, send a report of all missing quotas to editors/admins of the Quota Group.
Editor Groups
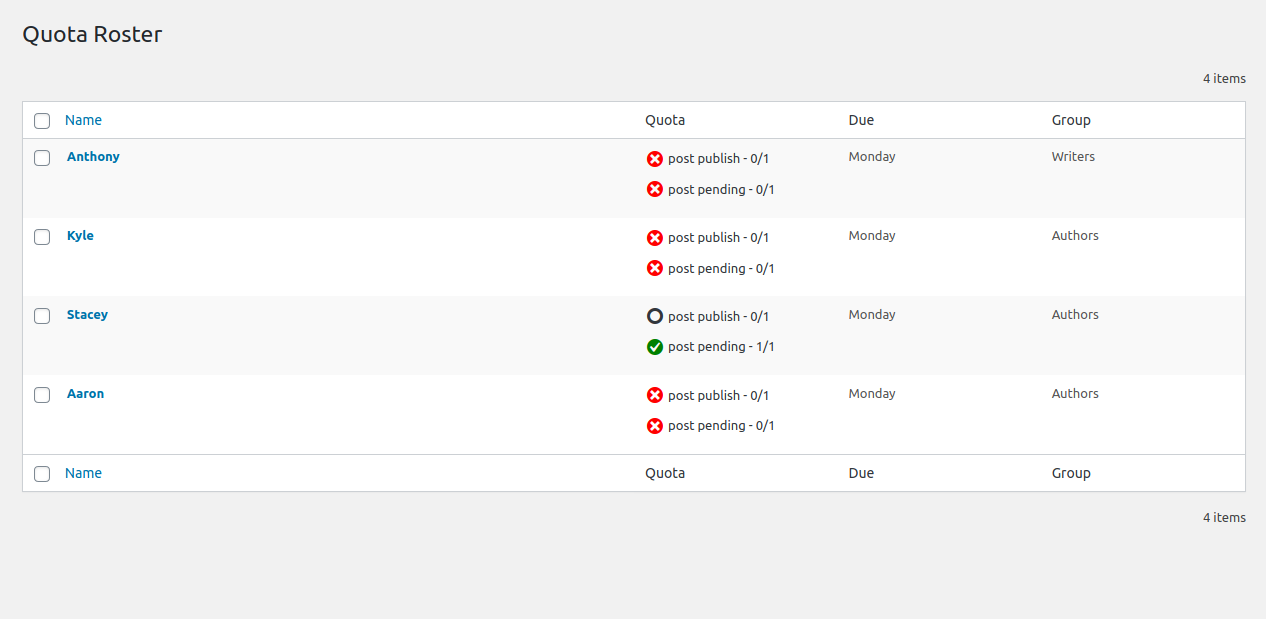
Admin View 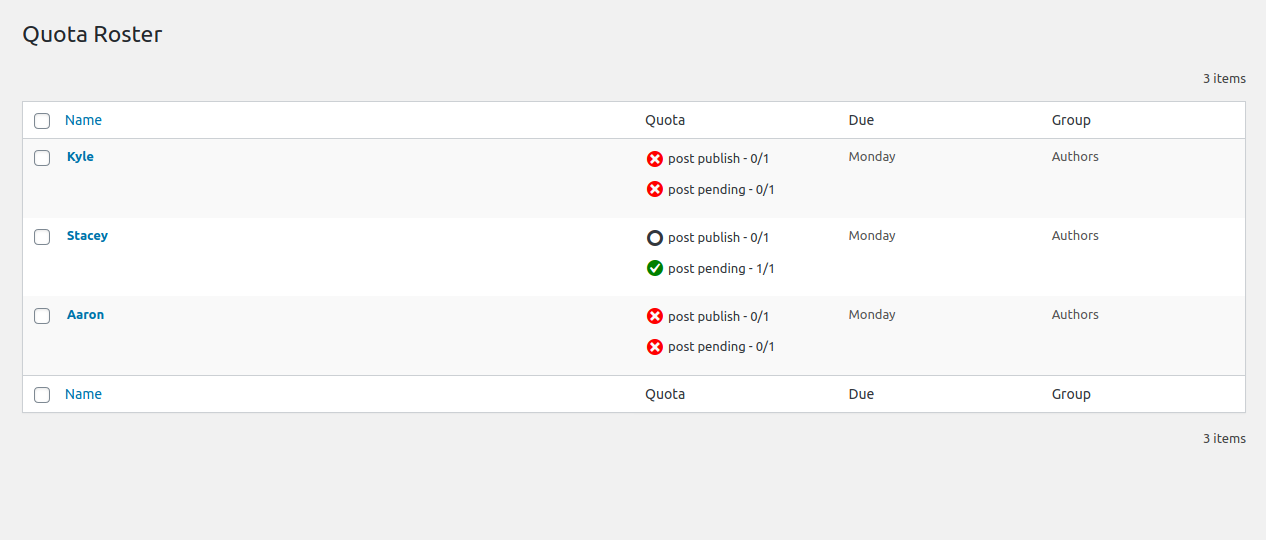
Editor View 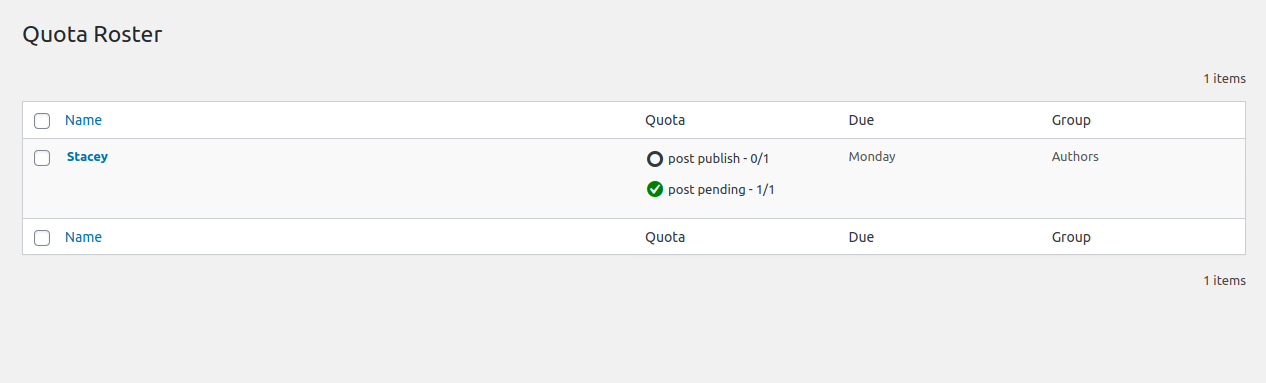
Author View
You can now assign editors to Quota Groups, those that oversee the users in the quota. With this enabled, editors who now visit the Roster Page will only see users under their group(s).
The Roster page is now viewable to all users* on the site to view their own quota history.
* Users must have at least edit_posts capability in order to see page.